Tender management

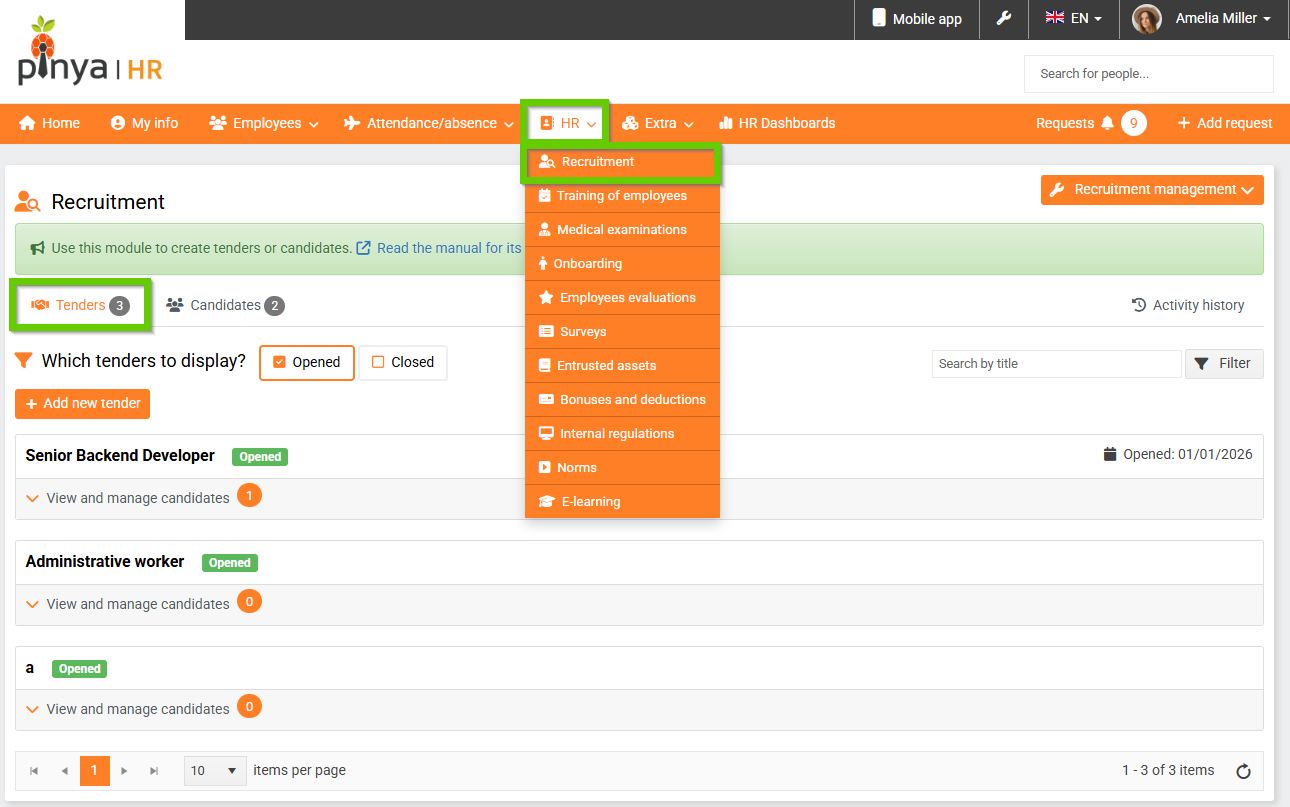
To manage tenders, go to the tab on the main panel
HR > Recruitment > Tenders.
General information
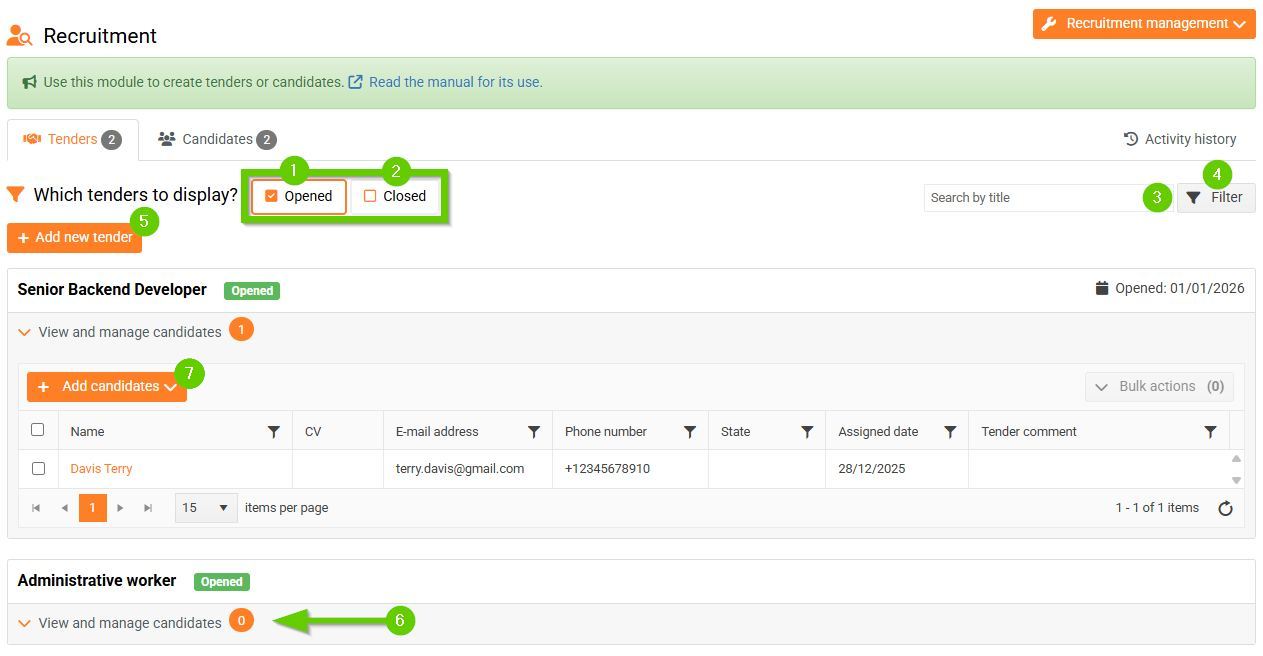
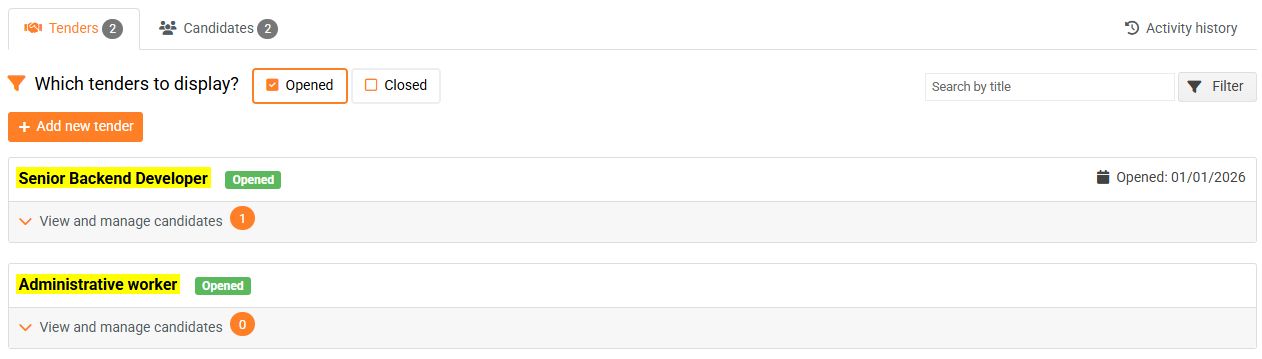
The tenders are listed chronologically by opening date from newest to oldest. By default, tenders that are still open are displayed (1). To display closed tenders, check the Closed checkbox (2). You can also search for tenders by name (3) or simply filter them by clicking the Filter button (4) and then entering the required parameters. This filter allows you to filter multiple values for one parameter at once.
You can create a new tender by clicking the Create tender button (5). For detailed instructions, see the article Creating a new tender.
For each selection procedure, you can see the number of added candidates (6). After clicking View and manage candidates, detailed information about the candidates in the selected selection procedure will be displayed. Using the Add candidate button (7), you can add either a new candidate or a candidate you already have saved in the system to the selection procedure. For detailed instructions, see the articles Adding a new candidate and Adding a candidate to the CV from existing candidates.
Tender administration
After creating a tender, additional tabs will appear:
- Detail
- Activities
- Sent emails
- Requirements
You can also go to the tabs by clicking on the tender name.
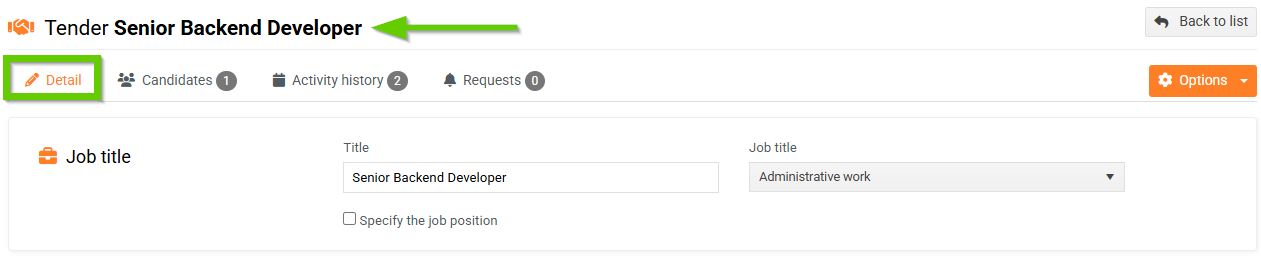
1. Detail
The Detail tab displays the basic information about the tender that you filled in when you created it. You can add or change the information here at any time.
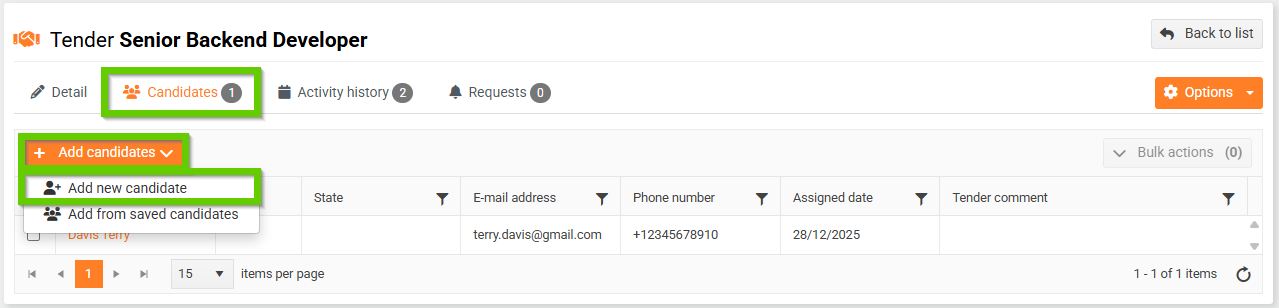
2. Candidates
The Candidates tab allows you to overview, edit and add candidates to the given tender. You can add a candidate manually by clicking the Add candidates button. A tab will open where you can fill out the tender's personal information.
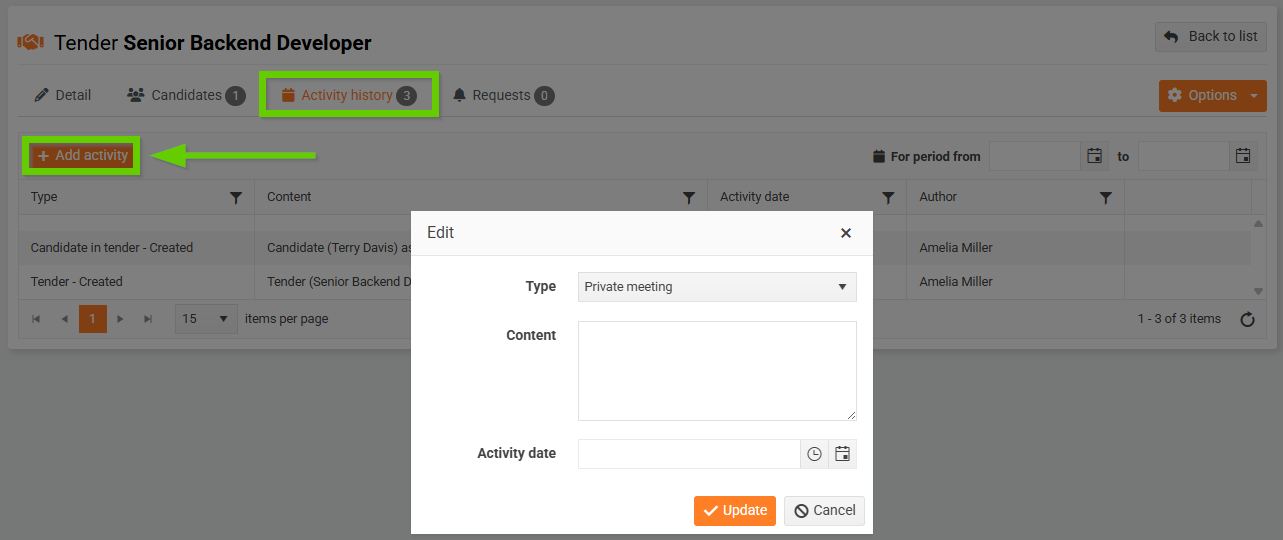
2. Activity history
The Activities tab records activities that took place in connection with a given tender. They are added automatically by the system (e.g. when a tender has been created), or you can add an activity manually by clicking the Add activity button. A window will open where you can select the Activity type and enter the Content. These fields are mandatory. You can also enter the date of the activity.
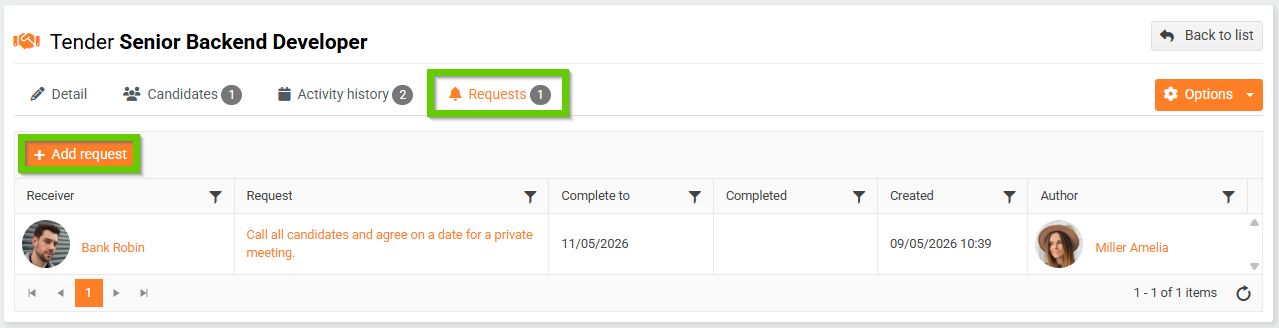
4. Requests
Through the Requests tab, you can submit requests to your colleagues regarding a given tender.