Sending documents (envelopes) for electronic signature

To send documents for signature, go to Employee profile > Documents > Electronic signature.
Create an envelope here.

Creating an envelope is divided into 3 steps:
- Selecting documents for signing
- Designation of signatories
- Specifying signing parameters
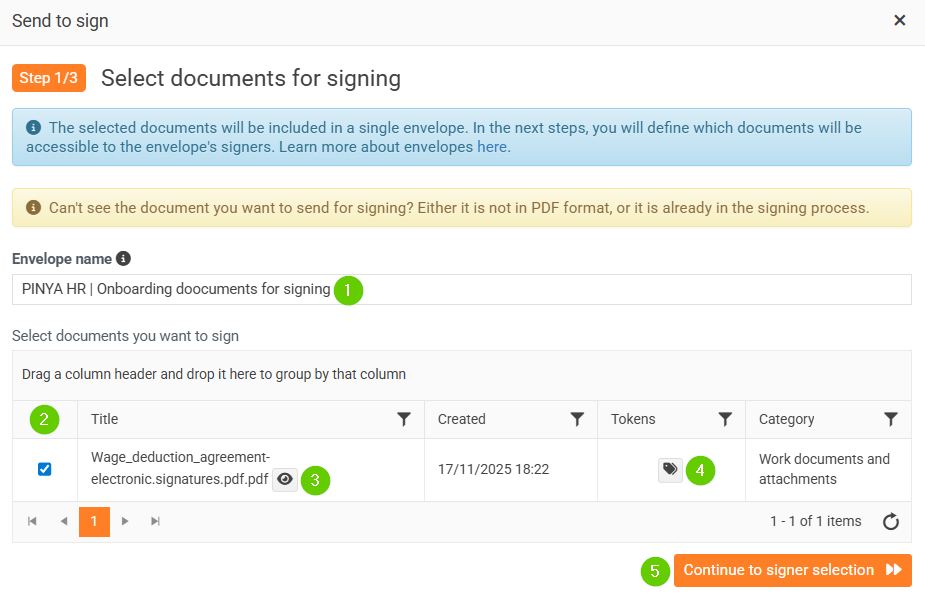
Step 1: Select documents to sign
- Enter an envelope name (1) to help you distinguish and search for envelopes. The name will also be used as the subject of the signature request email.
- Then select one or more documents (2) that you want to send for signature. Click the eye icon (3) to preview the document.
- To check whether the document contains signature tokens, click Show tokens (4).You can insert a maximum of 20 documents into one envelope and their total size must not exceed 25 MB.
- Then go to the selection of signatories (5).
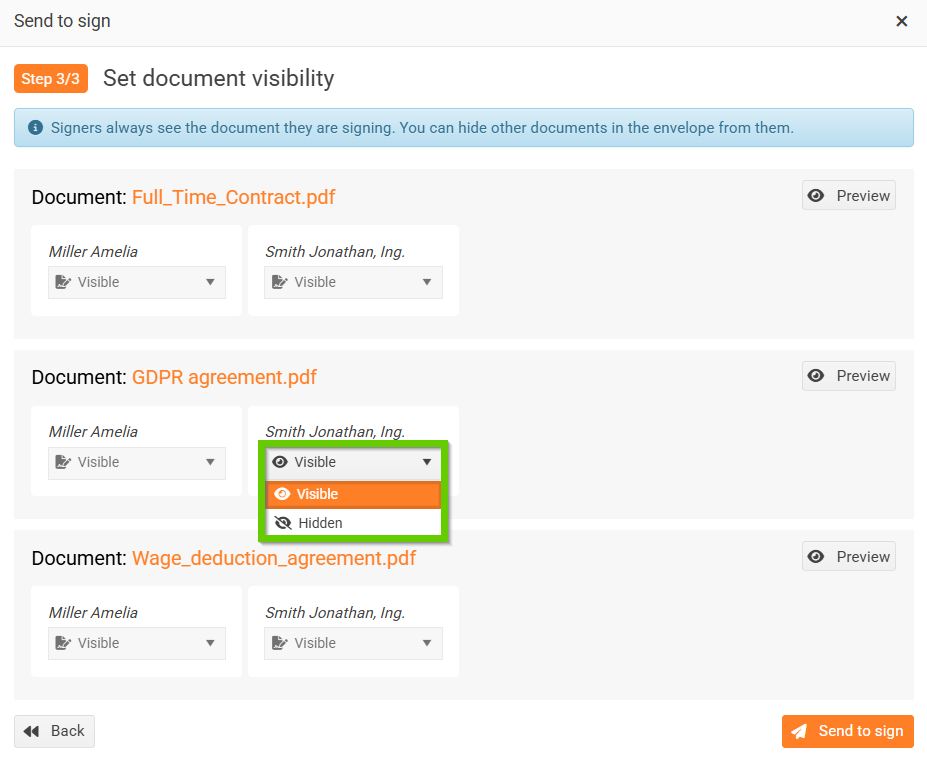
Step 2: Determine the signatories and order of documents
This step displays all the documents you have selected to include in the envelope. You can view them by clicking the Preview button. For each document, you can see the name of the signature token and the assigned person. If necessary, you can select a different employee instead of the default person. For each document, it is also possible to set its order in the envelope.

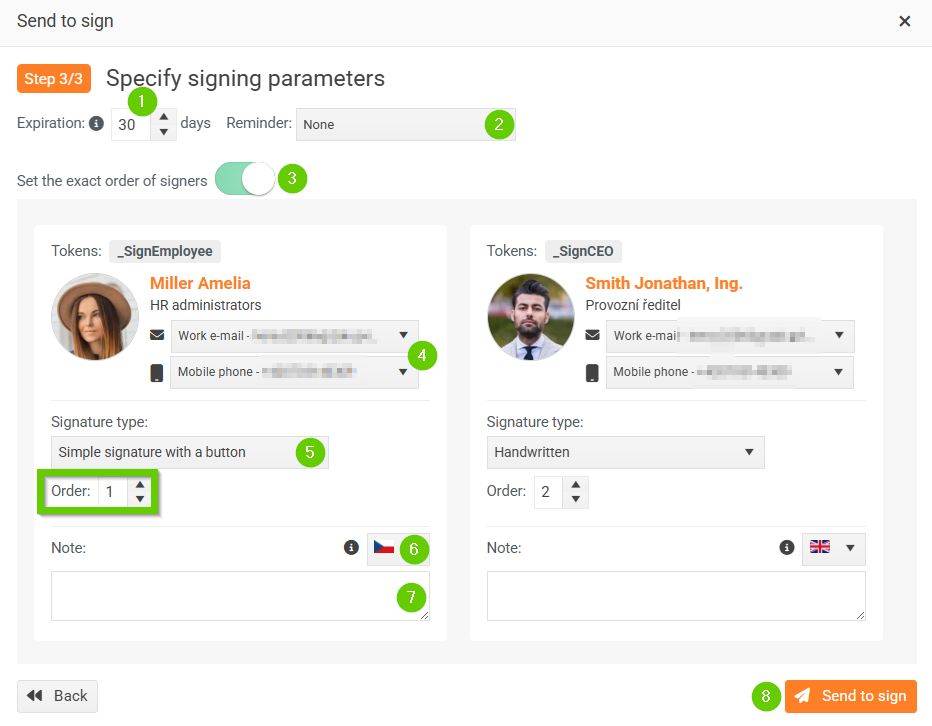
Step 3: Specify signing parameters
- Enter the expiration time. The number indicates how many days from submission until the unsigned document expires. After this time, the document can no longer be signed.
- Select the date on which the Reminder should be sent to signers.
- The Set exact order of signers radio button determines whether the order in which people sign is to be respected. For example: person with order 2 will only receive an email invitation to sign after the document has been signed by person with order 1.
- For signers, select work/personal email and phone.Email and phone number must always be entered!
- Select the type of signature - handwritten a or simple signature using the button. The signatures then look like this - handwritten signature on the right, signature using the button on the left:

In the picture above, we can clearly see that Johnathan could make great use of the "simple signature using a button" feature.
- Select the language for the email notification. By default, the language is set to the same language variant as the signatory's profile settings.
- You can enter text in the Note that will be attached to the email signature request.
- The Send for signature button will send the document for signature. This means that the electronic signing process in the DigiSign application will begin.