Template creation

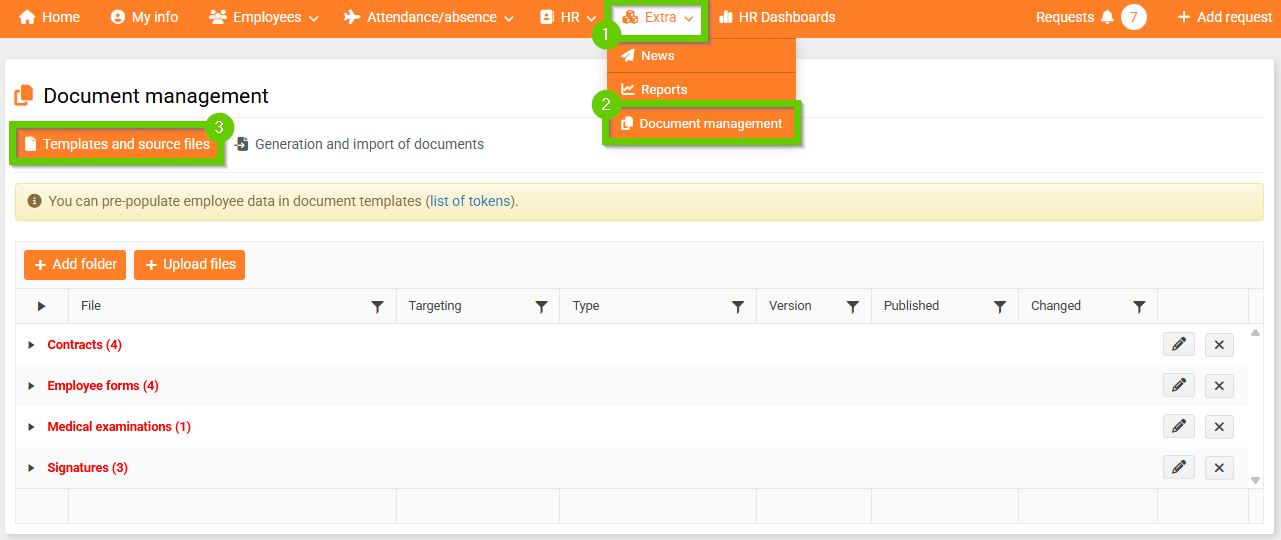
You can find document templates on the main panel under the tab:
Extra > Document management > Templates and source files.
You can search document templates using filters located in the header.
By clicking the filter name, you can determine whether the items are sorted in ascending or descending order based on the selected criterion.
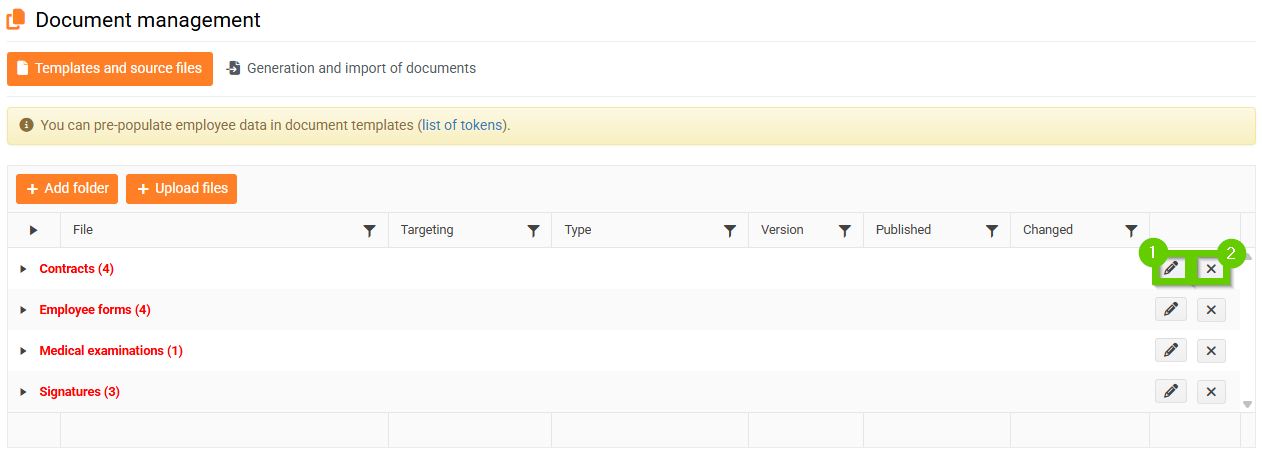
The folder name can be edited by clicking the pencil icon (1).
The entire folder can be deleted by clicking the cross icon (2).

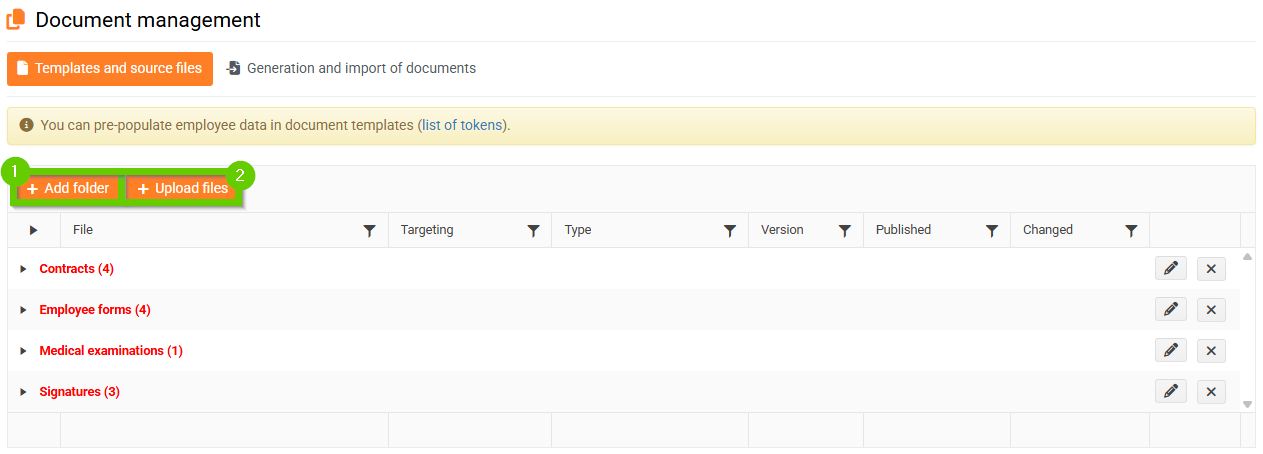
On the Templates and source files tab, you can create folders and insert the relevant document templates into them. To create a new folder, click the Add folder button (1). After clicking on the folder, you can upload prepared documents - the Upload files button (2).
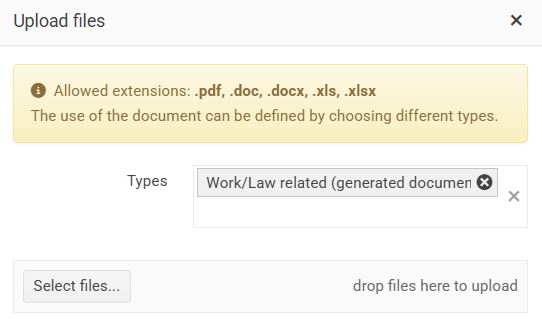
When uploading a file, you can specify the document type.
- General documentation
- Work/Law (generated) documentation
- Onboarding eemail attachment
- Medical examination invitation attachment
After uploading a template, you can continue working with the file using the Edit button.
For details, see Template editing options.
You can then find the prepared templates on the employee's profile in Documents.
For more information, see the article Generating documents for individuals.