List fields

For each employee you can add information about:
- The company they work for (if the company has multiple branches)
- The country they work in
- Place of work
- Department
- Center
- Job position
These items - list fields - can be edited in the main PINYA HR settings.
The main settings can be accessed by clicking on the key logo in the top right corner of the page. In the settings, go to the List fields section.
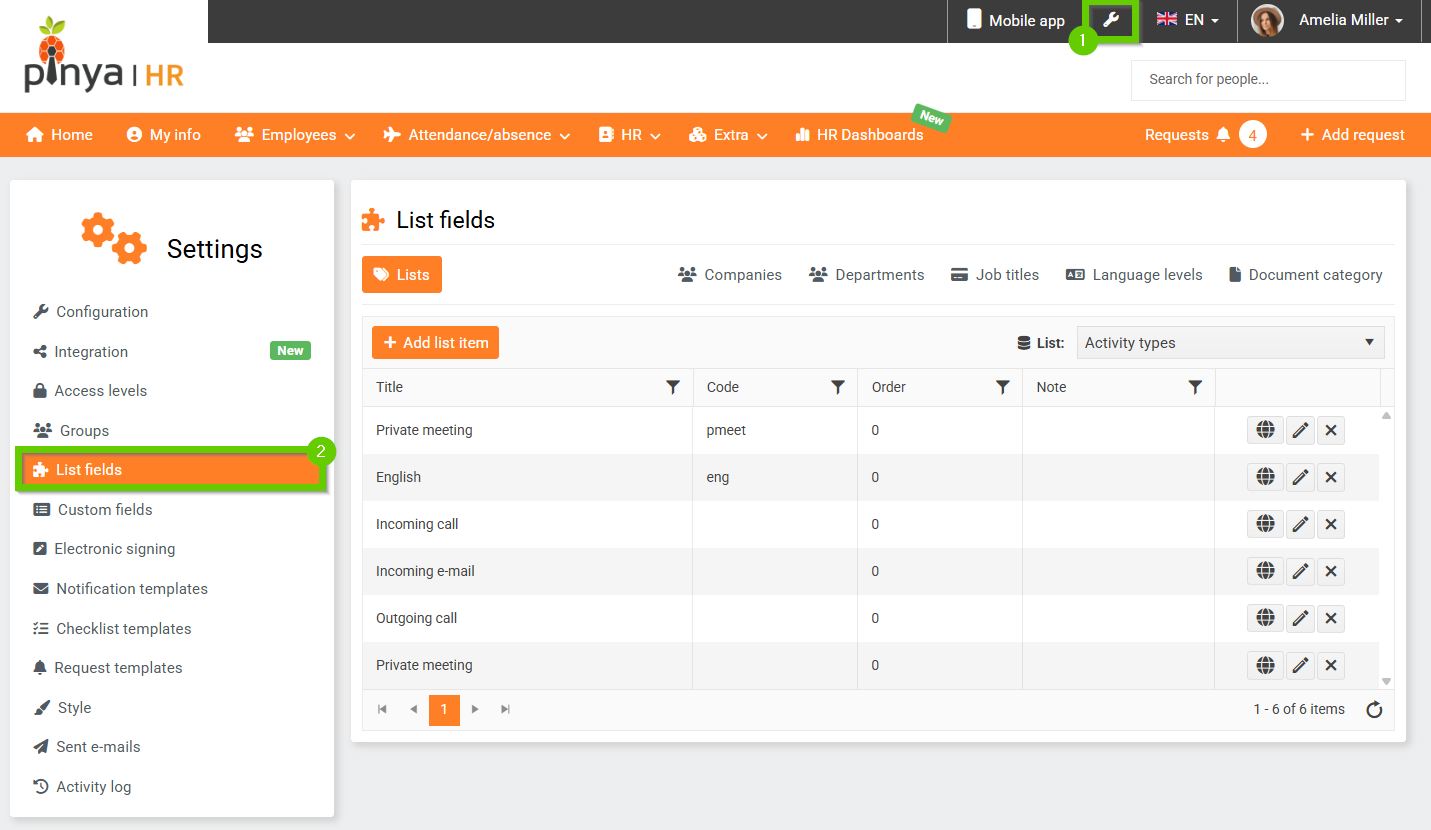
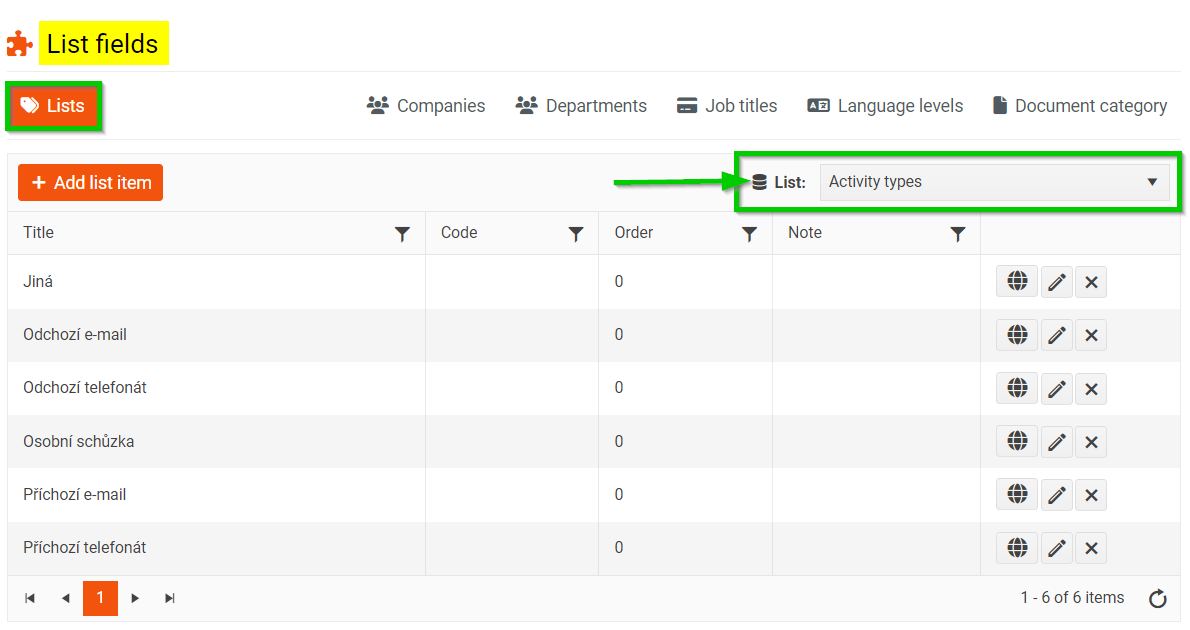
In the List fields module, on the List fields tab, you need to set up everything you want to use to manage your employee profiles. Here you can add and edit individual list fields.
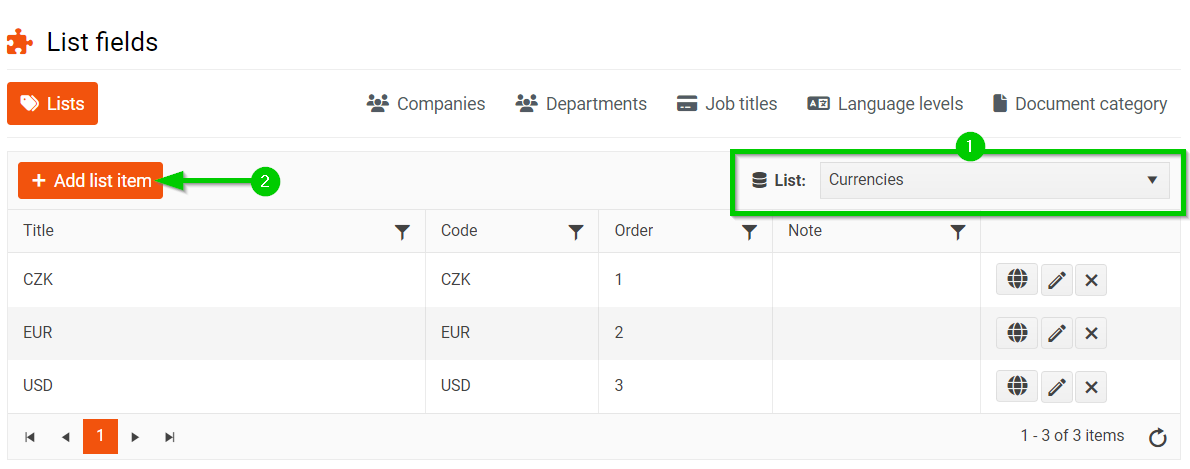
In the right corner of the panel, select the list for which you want to create new values. Some lists have a number of preset values. You can delete or edit these values.
How do I set the list fields?
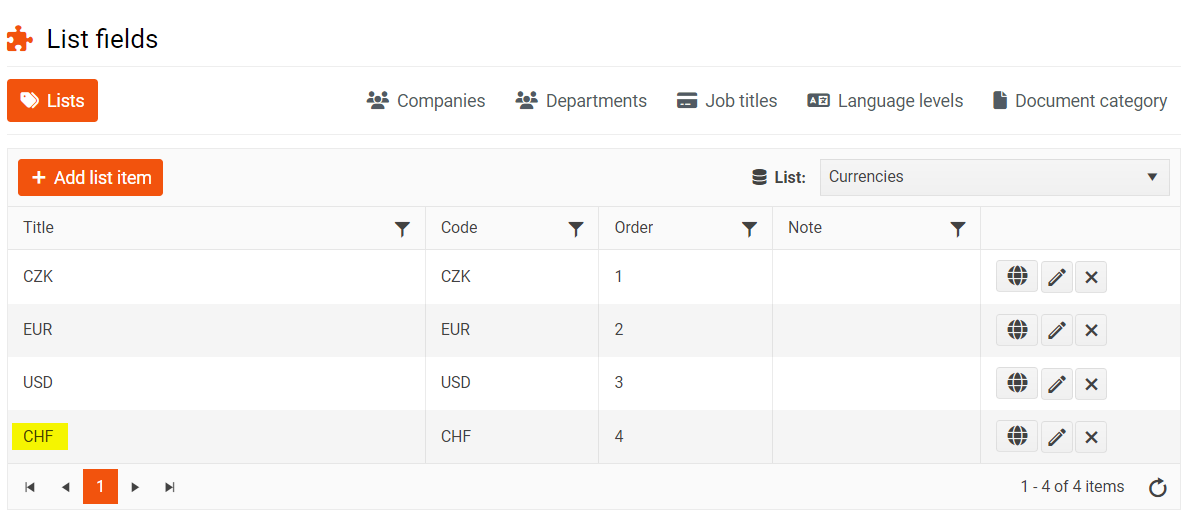
Example: Setting the Currencies list
- Select the list for the currencies.
- Click on Add list item button.
- Fill in the title (required) and the code and other fields if necessary and save (update button).
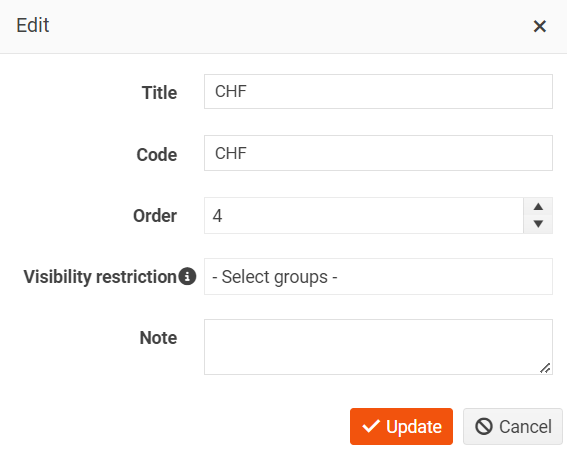
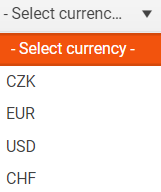
- The new currency has been added and is automatically offered in the currency selection fields.