Generating documents for individuals

Users who have the Generated documentation permission can generate documents.
This permission can be set by the administrator.

To generate documents, you must have the following on the Templates and source files tab (in Document Management): saved templates of the required documents along with embedded tokens.
Instructions for inserting tokens into document templates are avaliable here.
Instructions for creating document templates are avaliable here here.
To generate documents, go to the selected employee's profile in the Documents section.
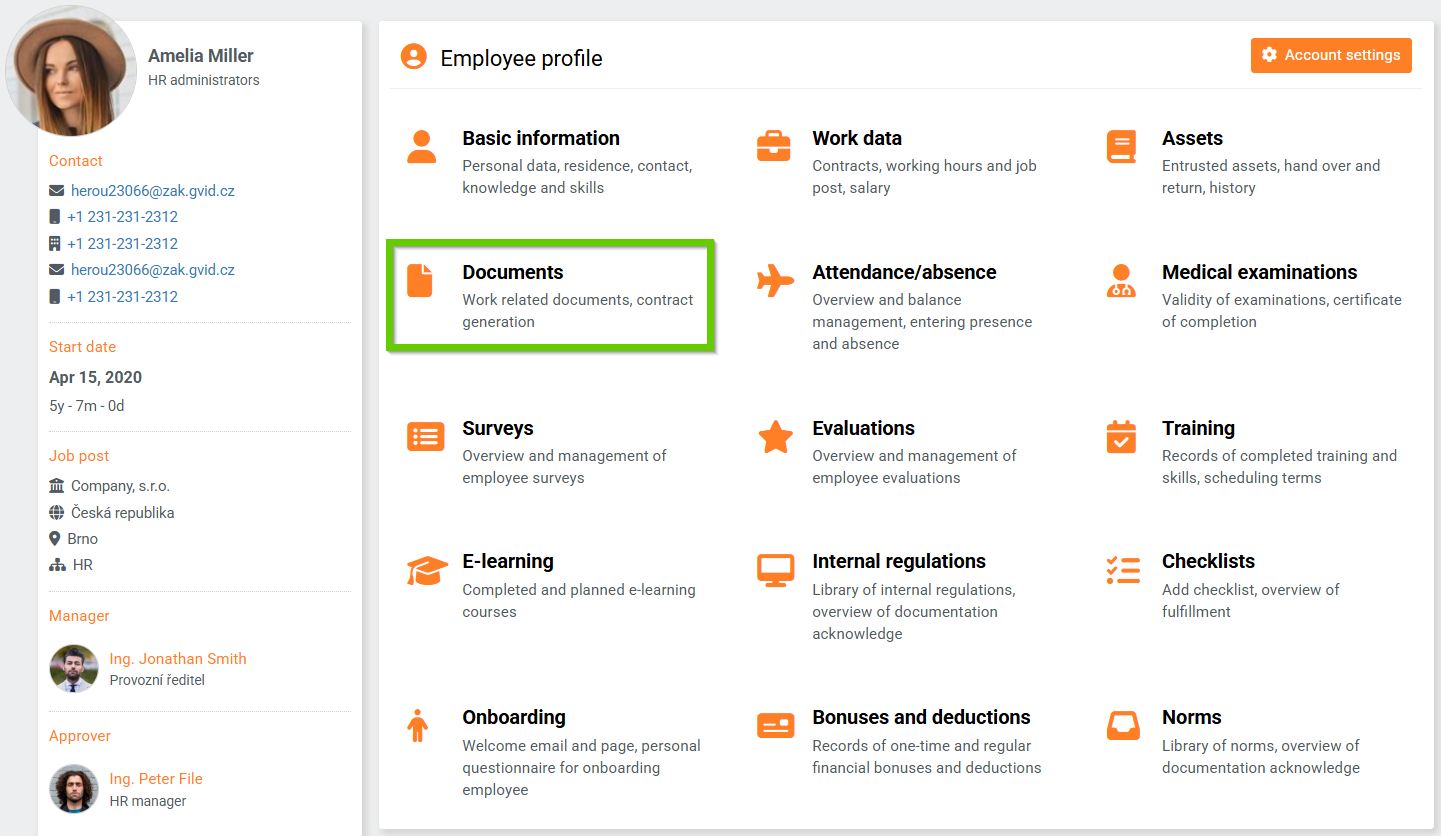
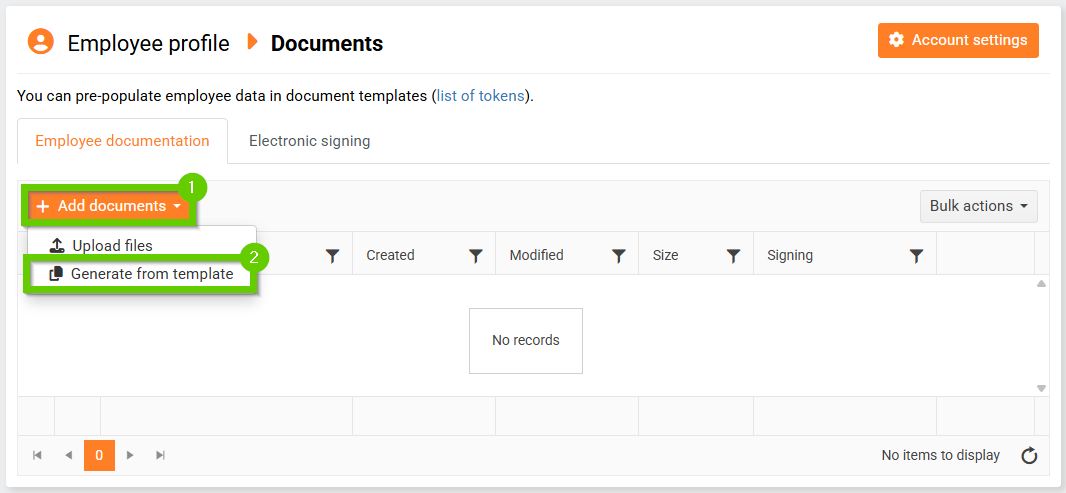
Click the Add documents button and select Generate from template.
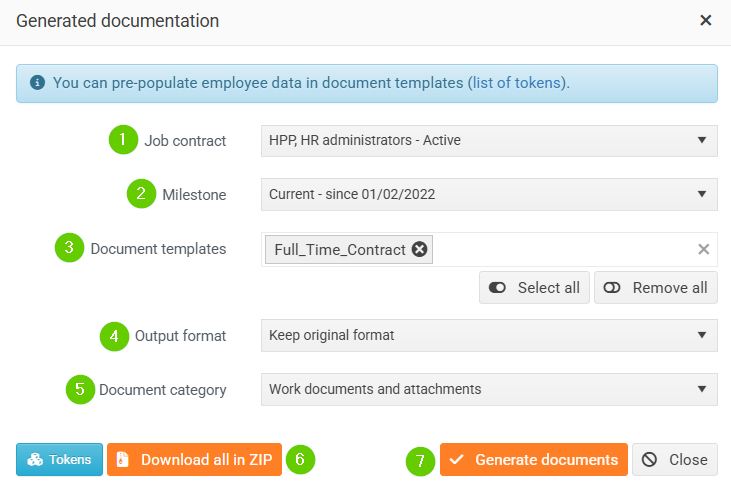
In the window that appears, select the employment contract (1) and milestone (2) from which tokens are to be populated.
The window will also display all document templates (3) that are targeted to the employee. Select only those templates that you want to use for document generation.
Then select the output format (4) and the document category (5) into which you want to generate the document.
You can also download all the documents you want to generate in a ZIP file using the Download all in ZIP button (6).
Click the Generate documents button (7).
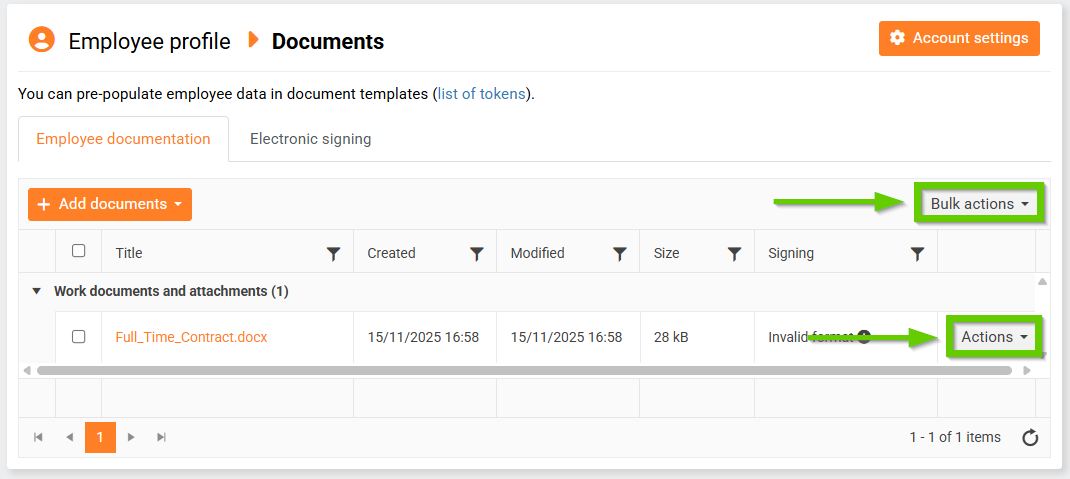
The generated document will be automatically saved to the appropriate document category.
You can further work with the document using the Actions and Bulk actions buttons.
For details, see Document editing options.
If the appropriate tokens were correctly inserted to the document template (Fig. 1), all information from the employee profile that was represented by the token in the template will be written into the generated document (Fig. 2).
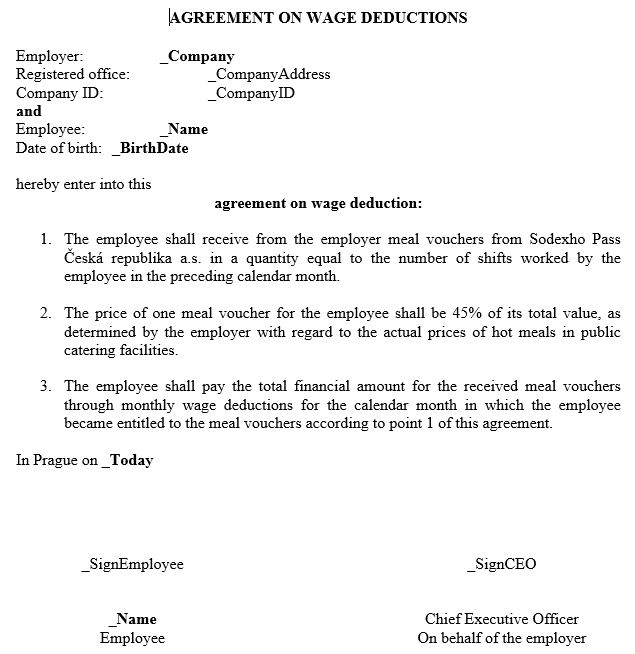
(Fig. 1)
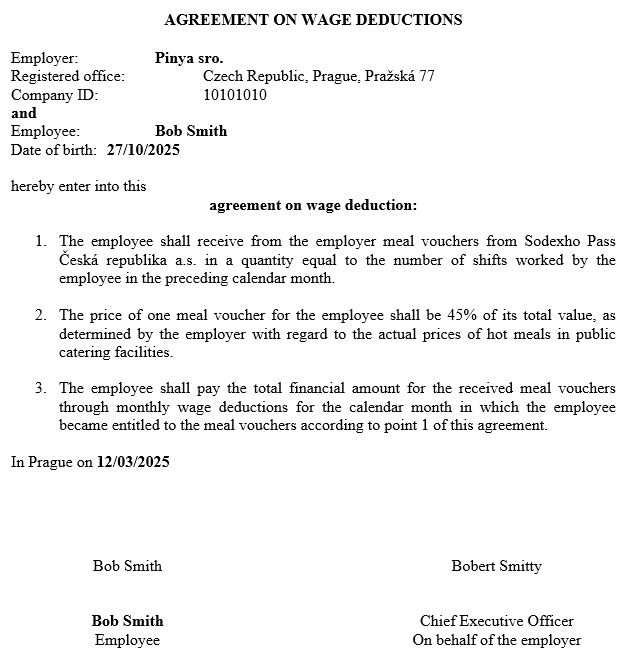
(Fig. 2)