Setting up the Electronic Signature module

If you have the Electronic Signature module activated:
In System Settings, the Electronic signing option is active in the left menu.

For instructions on how to activate a module, see the article Activating add-on modules.
The Electronic Signature settings are divided into three parts - tabs:
- Envelope overview
- Tokens
- Message templates
Envelope overview
Here you will find a summary of all envelopes and their attached documents that have been sent for signature.
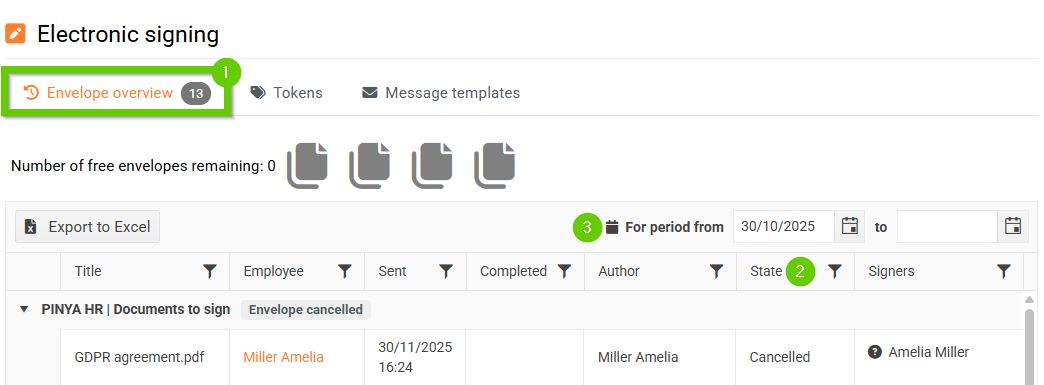
- At the top, you can see the number of documents you can electronically sign for free. Free documents are green, exhausted documents are gray. You have 4 free documents available.
- The status of the signing process is displayed for each envelope. You can filter the statuses in the column as you wish:
- Sent - The document has been successfully sent for signature, but has not yet been signed by all signers.
- Completed – the document has been signed by all signatories.
- Canceled – signing was manually canceled during the process.
- Expired – the document was not signed within the specified expiration period.
- Error - the document failed to be sent for signature and the process has not yet been reset.
- Draft – DigiSign rejected the documents for some reason (e.g. due to inappropriate formatting such as embedded JavaScript). In this case, the envelope is not created or sent at all, and therefore the document is not invoiced.
- You can filter any time period above the entire overview.
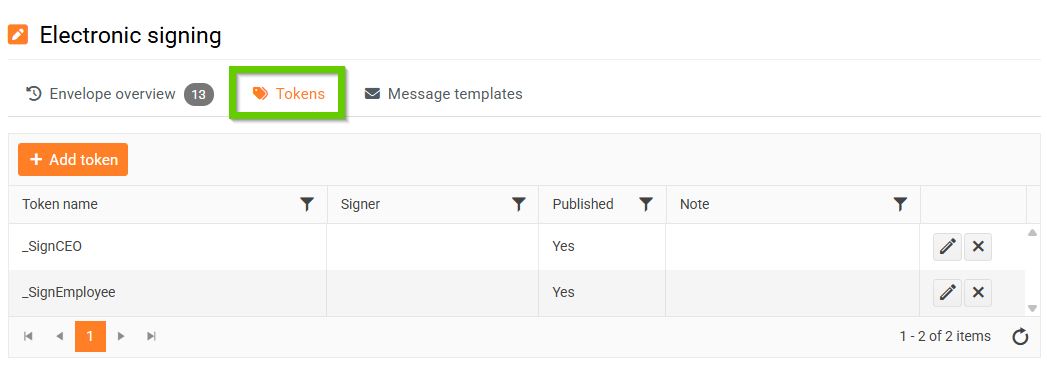
Tokens
In this table, you define signature tokens. These are markers you place in the document where electronic signatures will be inserted. One token = one signer.
How to add a token?
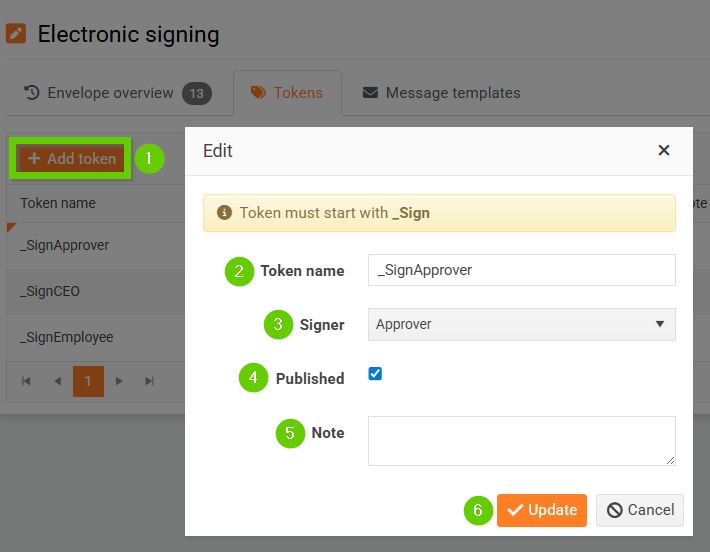
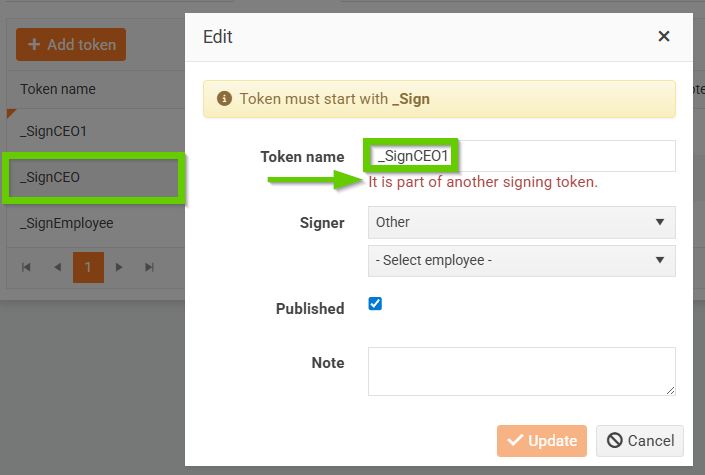
- Click the Add Token button.
- Fill in the Token Name. It must always start with the text "_Sign".
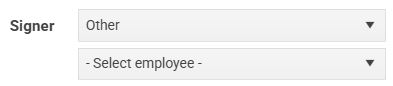
- Select Signer:
- The Employee, Supervisor, Approver options will be contextually replaced with people in these roles.
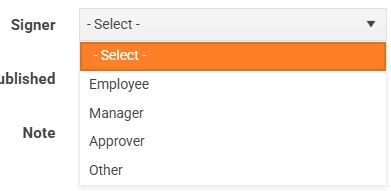
- If you want to permanently assign a signer, select Other and select the appropriate employee.
- By selecting the Published checkbox, you specify that this token can be used for signing.
- You can insert a Note.
- Save with the Save button.
Message templates
Here, you can edit the text of predefined email messages sent to signers during the document signing process.
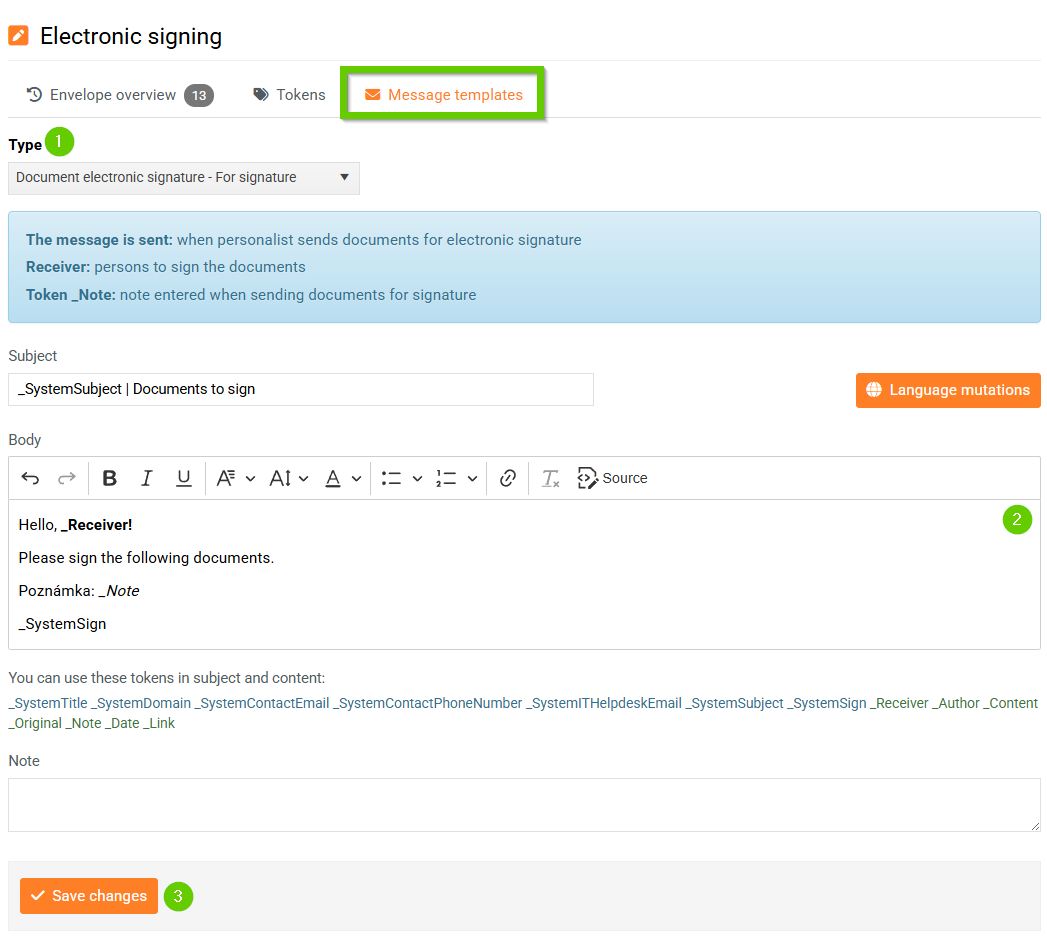
Template editing:
- Select Template Type.
- Edit the email text.
- Save by clicking the Save changes button.