Creating a new custom notification template

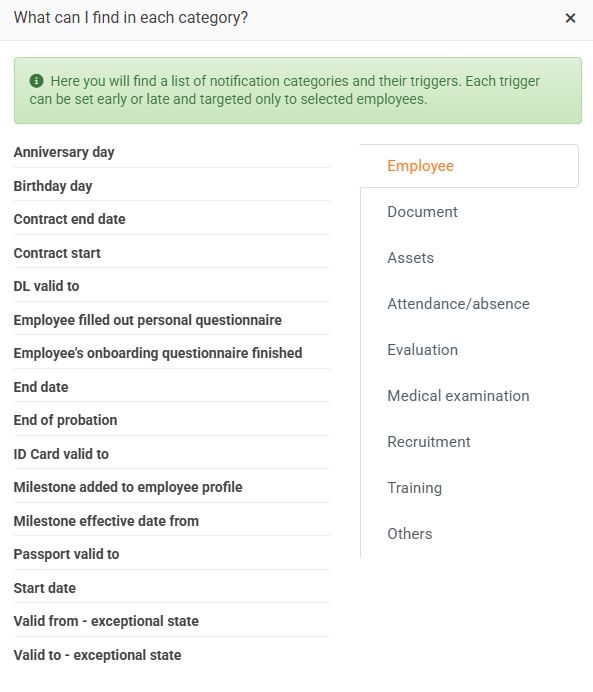
Before creating a new template, we recommend that you take a look at the guide What can I find in which category? ,
which will advise you on what notification you can create within the selected category.
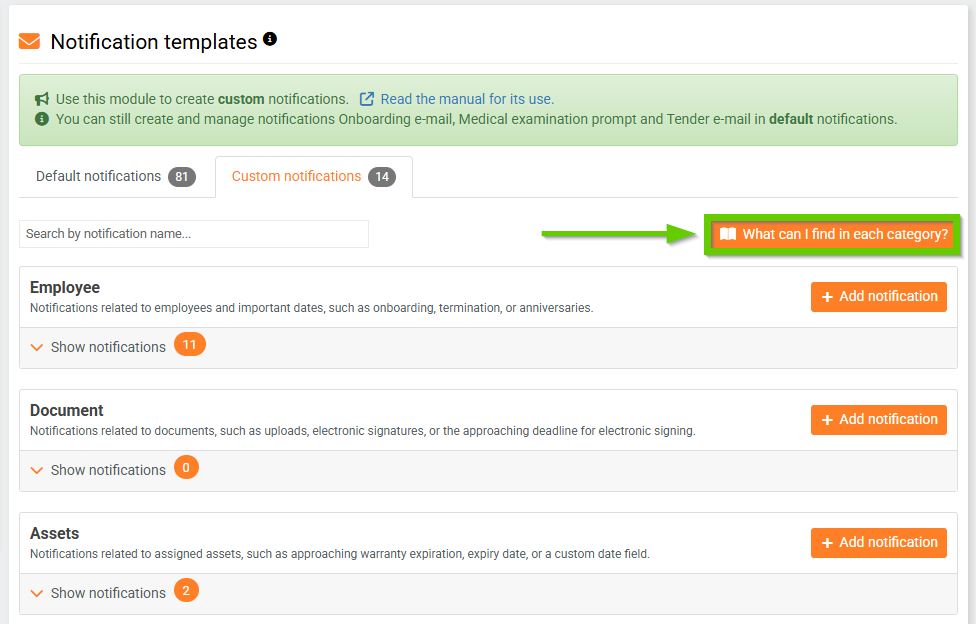
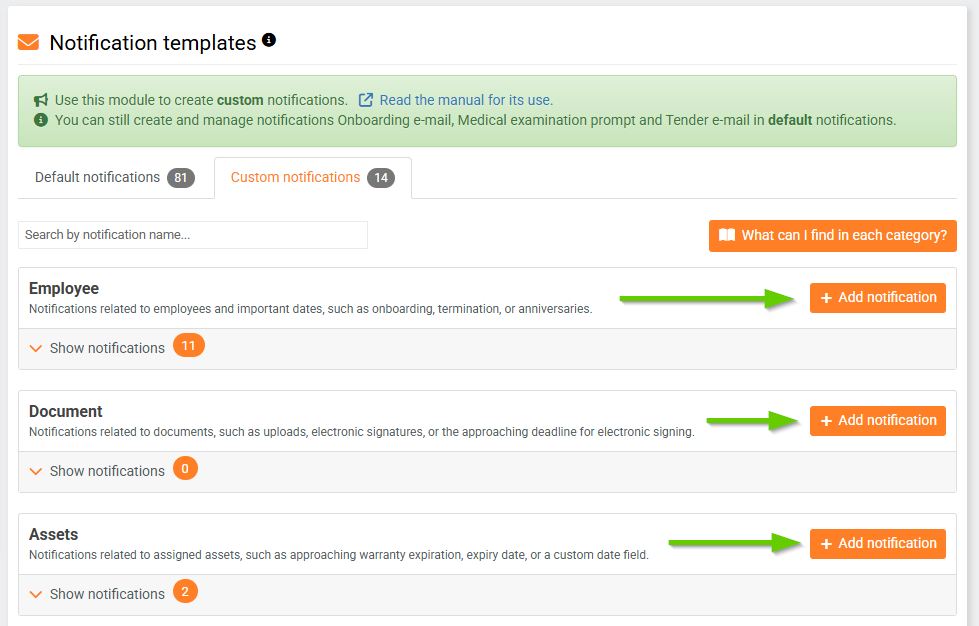
You can add a new template using the Add notification button, which is always located next to the category to which you want to add your own notification.
The system will then guide you step by step through creating the template.
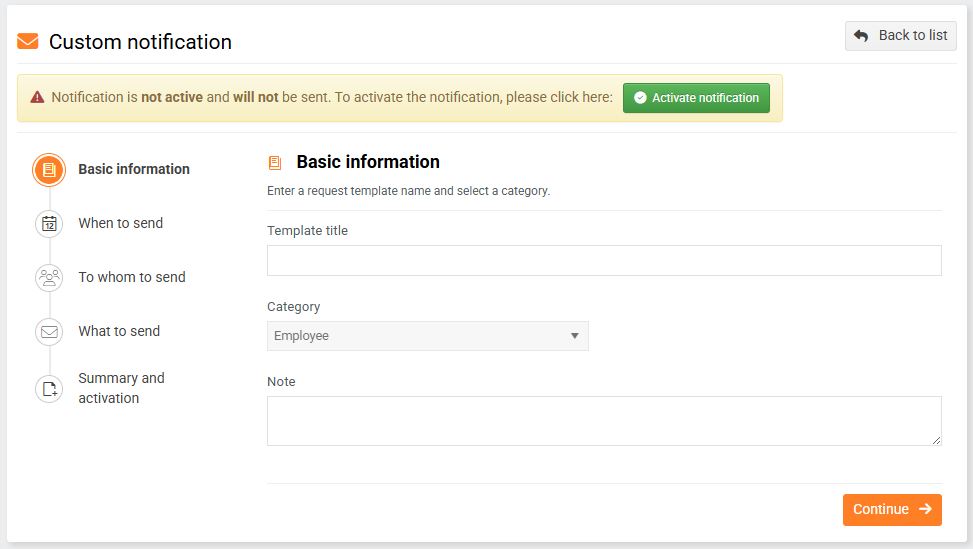
- In the Basic Data section, fill in:
- Template name
- The category is automatically pre-filled.
- Note
- In the When to send section, you specify the date or event to which the notification will be sent. The notification sending date can be tied to various system dates, calendar days, or you can specify it exactly. You can also use data from custom fields.
For a guide to setting a date or event, see the article Custom Notifications - When to Send . - In the Send to section, select the recipient of the notification. You can select recipients using filters, by role, or manually select specific employees.
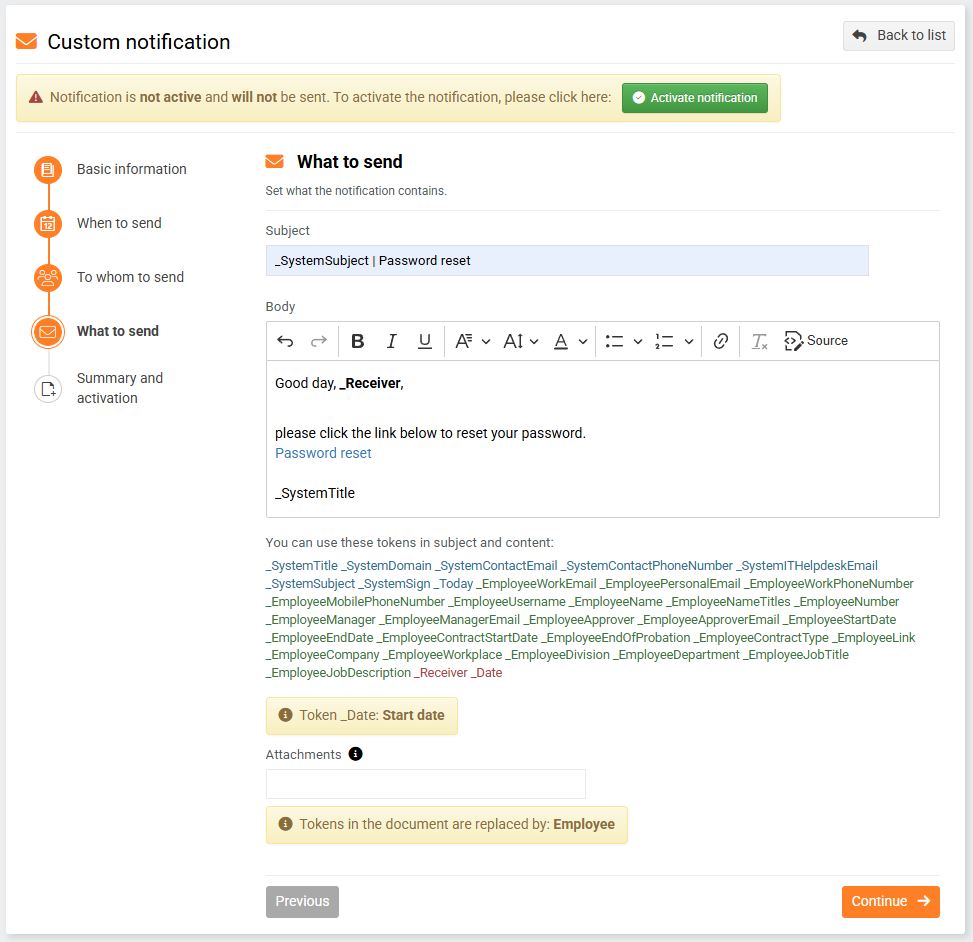
You can find a guide to setting up recipients in the article Custom notifications - Who to send to . - In the What to send section, you create the content of the email message. You enter the subject and content of the email you are sending.
To send a personalized notification – i.e. to automatically fill in the employee's details – you need to add tokens to the template. The tokens vary depending on the subject of the message. The tokens that can be used in a given template can be found under the message content.
You can add an attachment to the message, which you select from saved document templates.
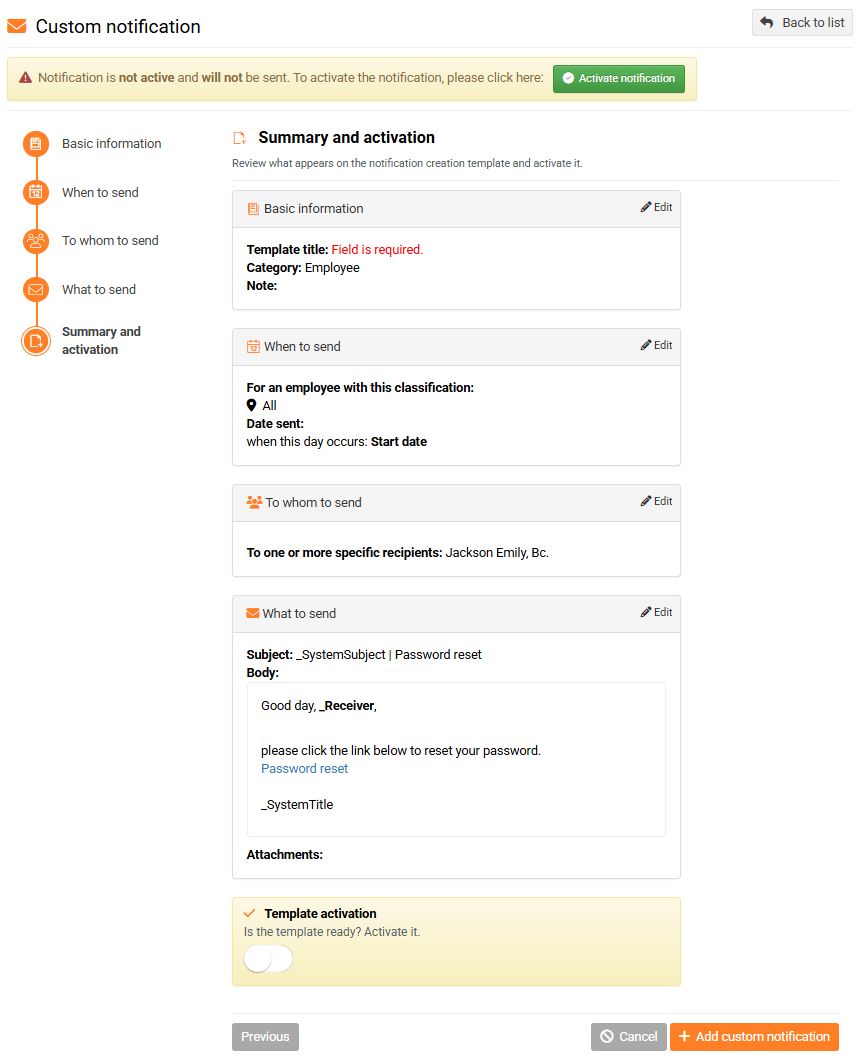
- In the Summary and Activation section, you can clearly see everything you have filled in the template. The system will mark in red if you have forgotten any mandatory information. You can return to individual steps and check/edit the information by clicking on the section names or using the Previous/Next buttons.
You will also find a Save Changes button here, which you can use to save the template at any time - whether it is completely finished or not yet finished.
Activate the finished template either using the Activate switch or the Activate notification button in the information bar at the top of the template.