Managing onboarding emails

An onboarding email can help you collect information about an employee before they join the company.
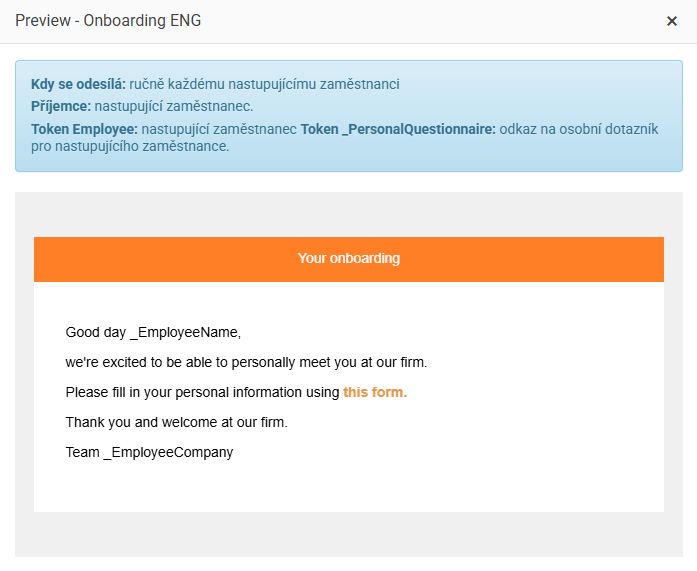
Through this email, you can send a link to an online personal questionnaire to a prospective employee.
(even if the employee does not yet have access to the system).
After filling it out, the future employee's data will be automatically transferred to the system, directly into the new employee's profile.
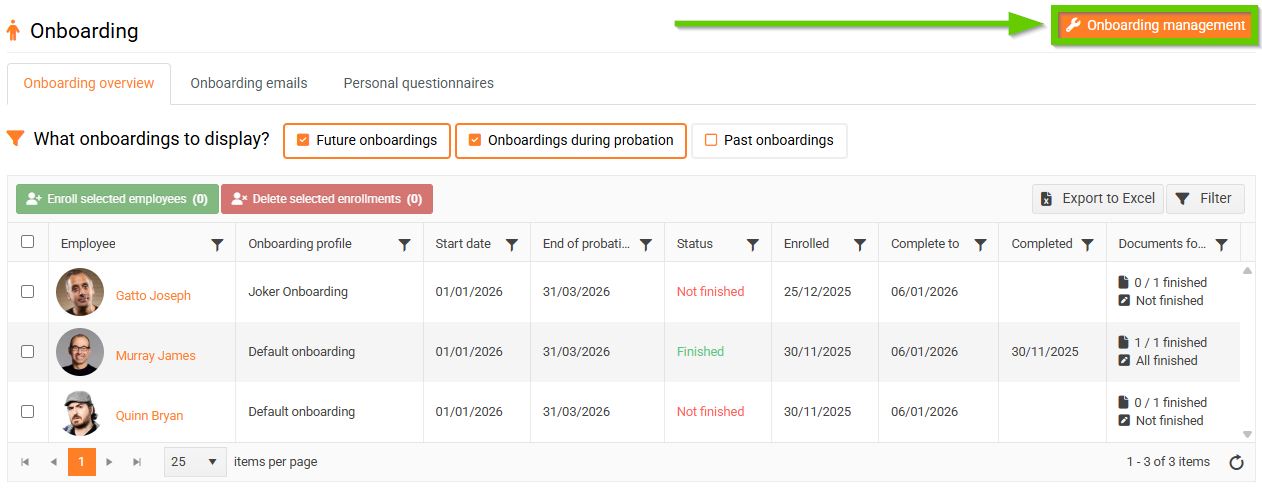
To manage onboarding e-mails, on the main tab go to HR > Onboarding.
Then click on Onboarding management in the top right corner.
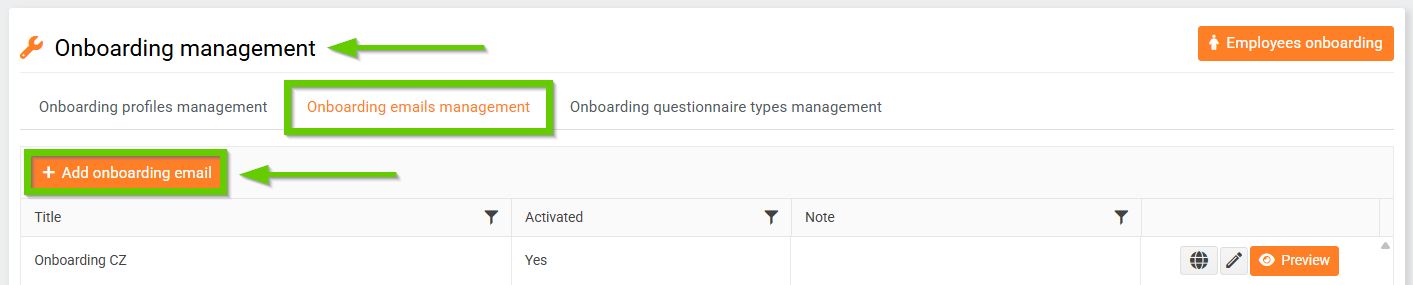
1. Adding a new onboarding email
To add a new welcome email, click the Add onboarding email button on the Onboarding emails management tab.
Fill in the required fields and save using the Add message template button.

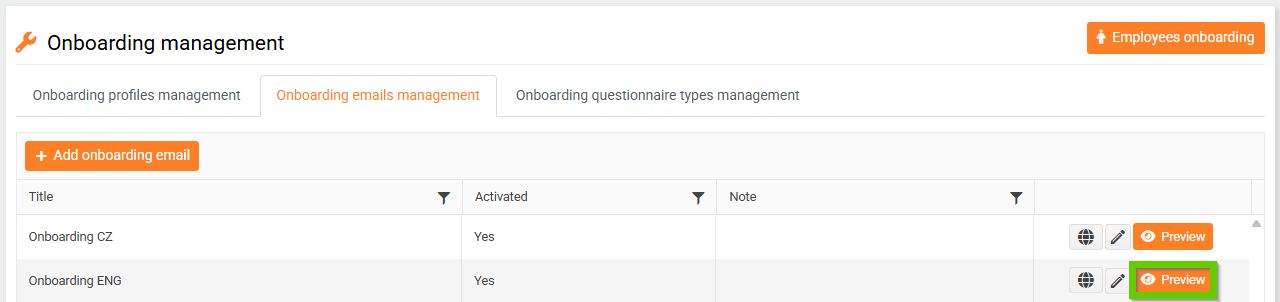
After saving, you will be automatically redirected back to the list of onboarding emails. Here, you can use the Preview button to see how the outgoing email will look.
2. Editing and deleting your onboarding email
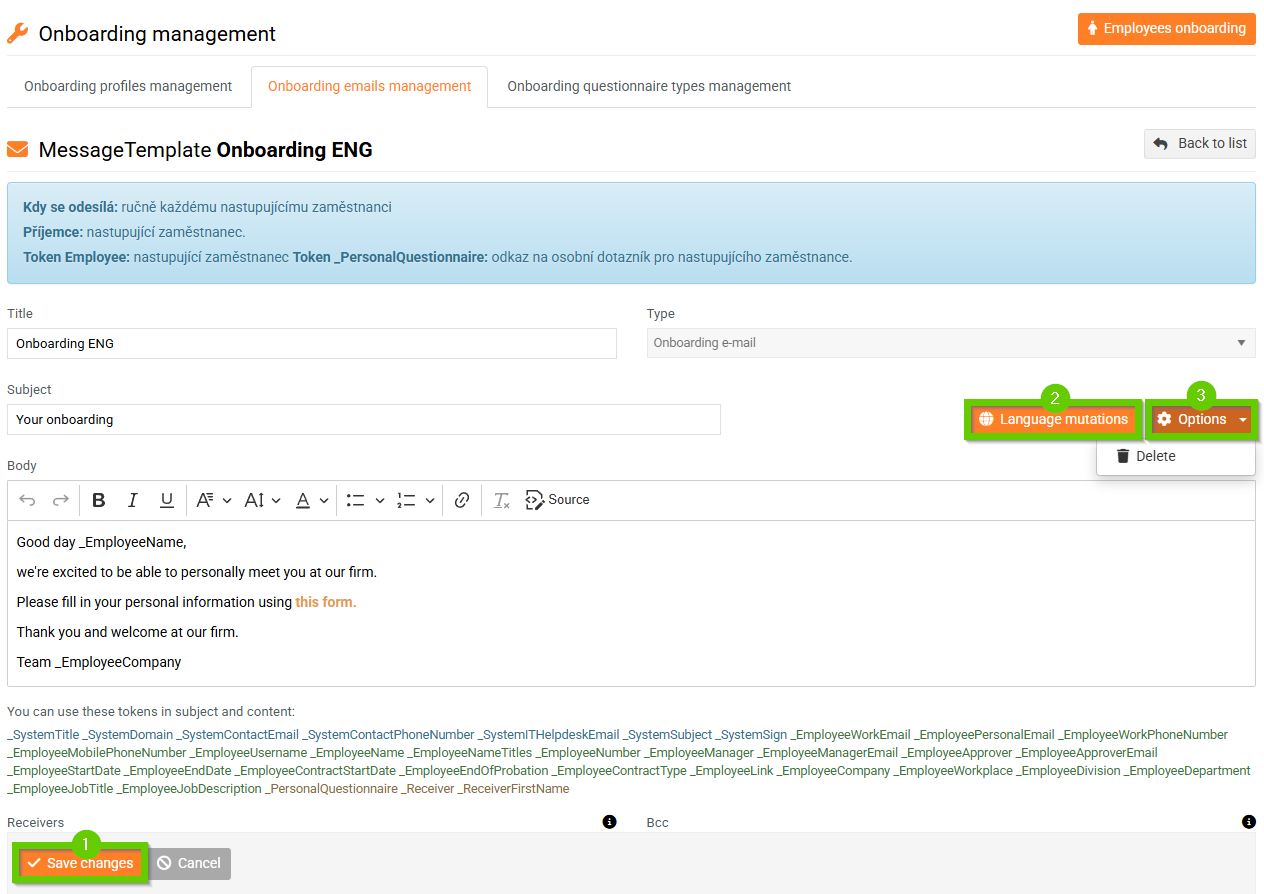
Already created onboarding emails can be edited by clicking the pencil icon.

After editing, don't forget to save the changes (1).
You can also set language variants (2) for the selected onboarding email or delete it here.
To delete, click Options > Delete (3).