Managing absence records

The administrator and persons with assigned permissions (e.g. HR administrator) can manage absence records.
They can insert new records (even in the past), edit and delete existing records.
You can find record management on the selected employee's profile > Attendance/Absence tab > Record management.
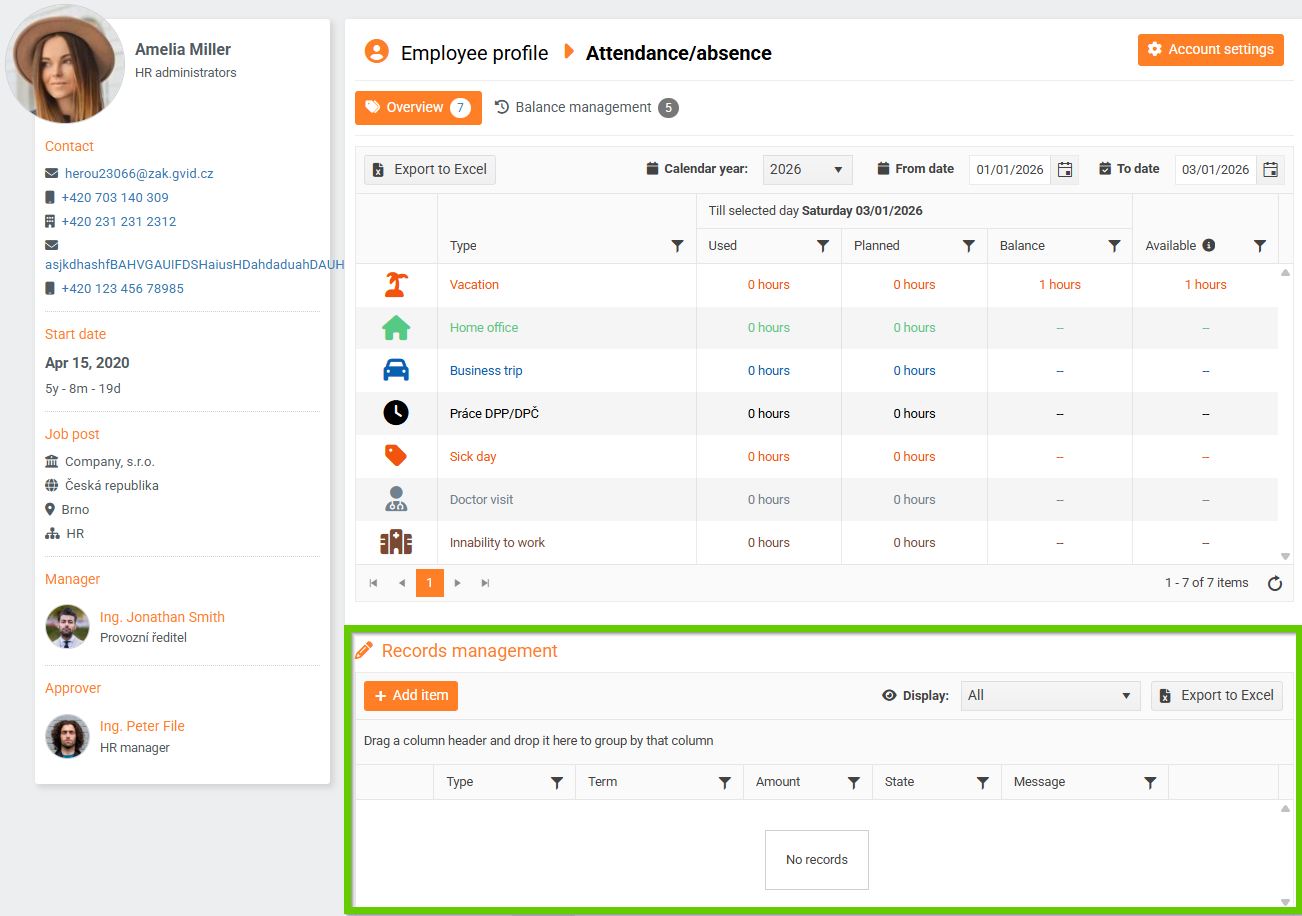
In record management, you can view:
- all records
- ongoing and planned records
- record history
You can also export records to Excel.
An administrator can also manage their own records, whereas an HR administrator cannot.
Adding a new absence record
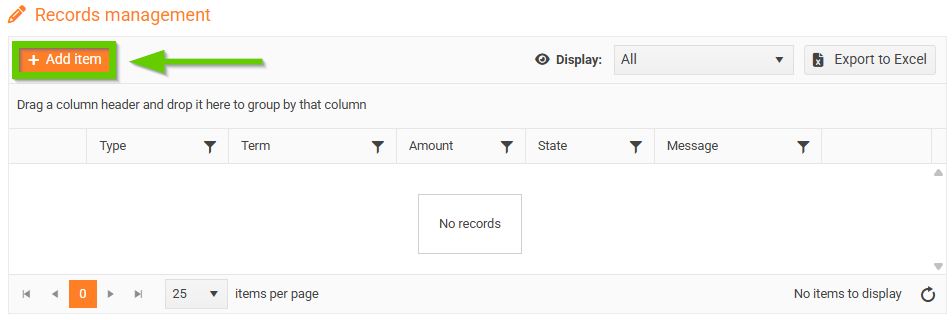
- Click the Add item button.
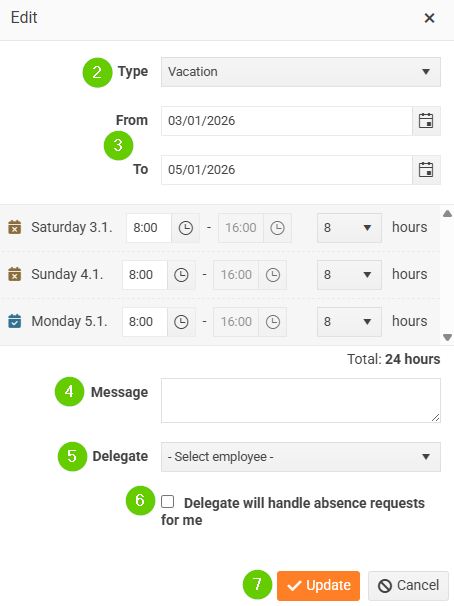
- Select the absence type (this field is required).
- Enter the period of absence (from - to).
- You can fill out a message.
- If necessary, select a delegate for the employee.
- If the delegate will handle absence requests on behalf of the employee, check the checkbox.
- Save using the Save, or in some cases the Update button.
Entries can also be added retrospectively. An absence entry added in this way is not subject to approval. It is immediately in the Approved status and no notification is sent.
When saving a record, no validations are performed, i.e. the system does not check whether the employee has a positive balance of hours of the relevant type or whether the entered number of hours does not exceed the permitted limits (daily, weekly, monthly, etc.).
Editing an existing absence record
- Click the pencil icon to open the details of the selected absence.
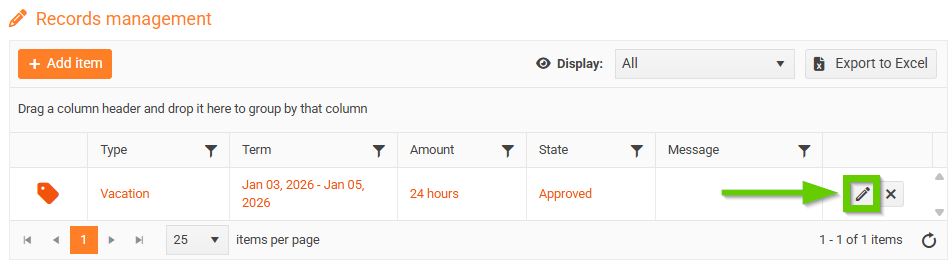
- Make the desired changes.
- Save using the Save button.
The edited record is saved in the same state as it was before editing.
Deleting an absence record
- Click the cross icon.
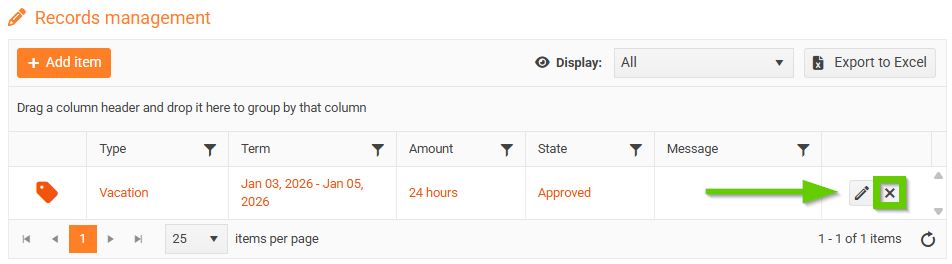
- A warning will appear asking if you really want to delete the entry.

- After confirmation, the selected record will be deleted.